Set up your account
Before you switch anything on, spend five minutes on four settings: your profile, your business details, your time zone, and your team. None of them are hard, and every one of them matters downstream. Each one lives in the same place: Settings, at the bottom of the left navigation.
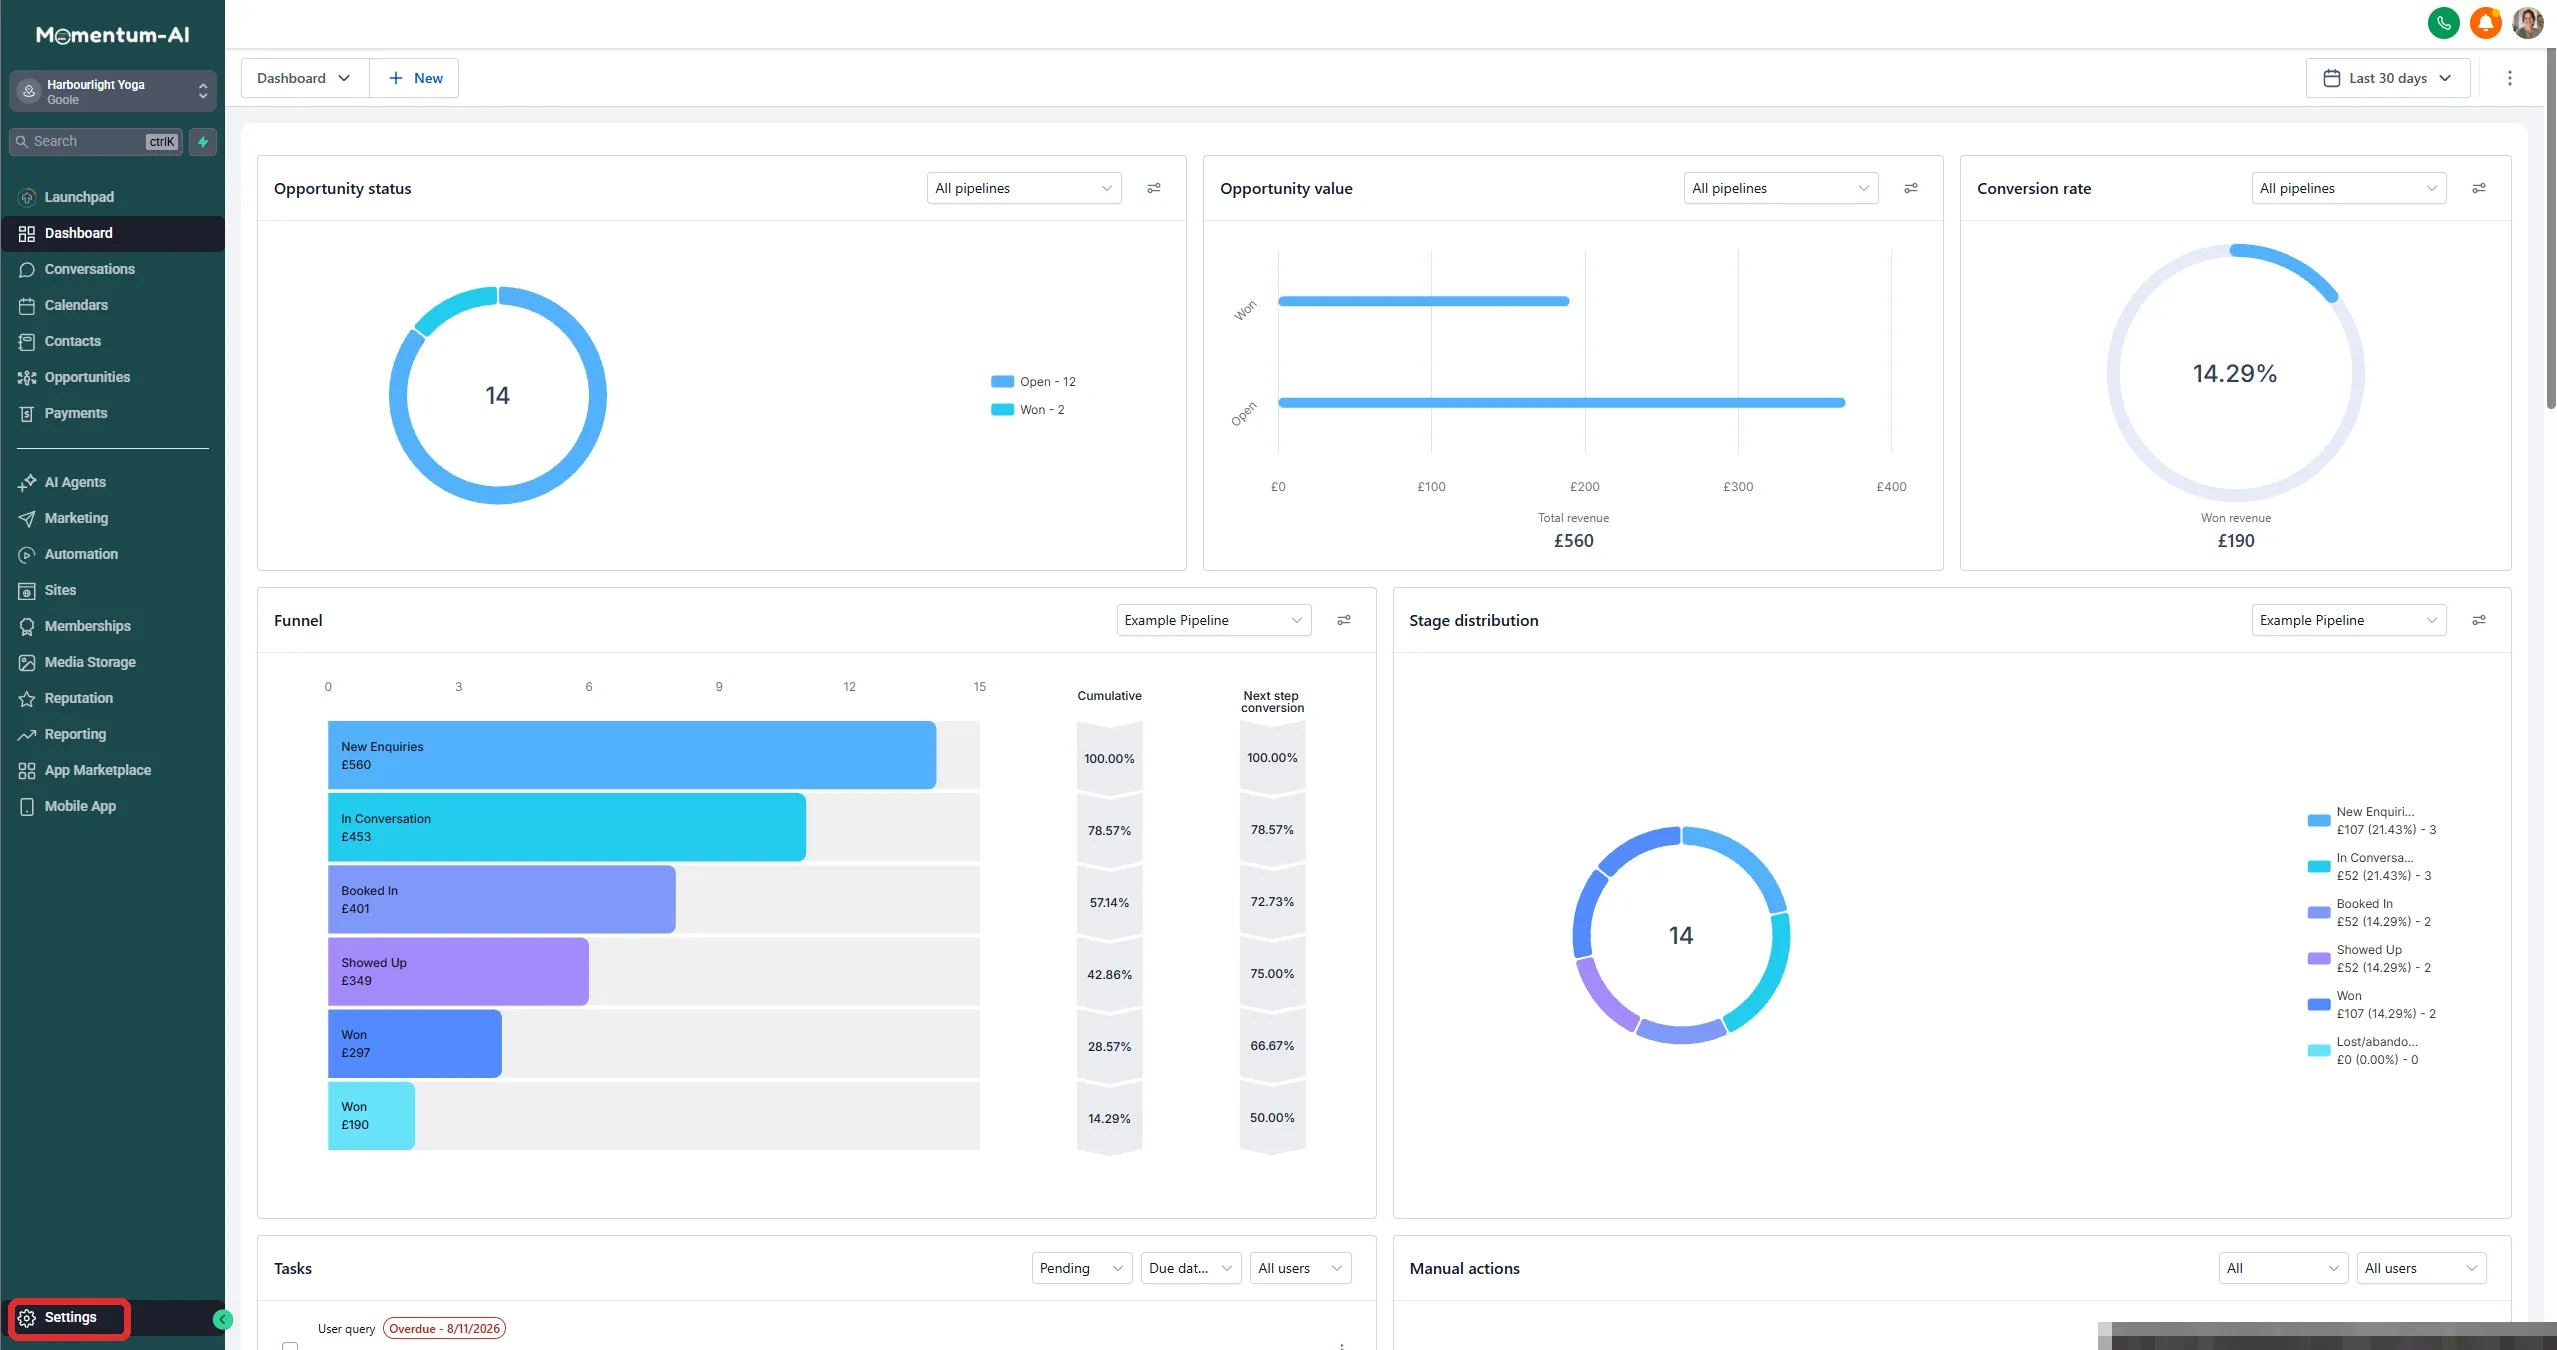
1. Your profile
Section titled “1. Your profile”Go to Settings → My Profile and fill in your name, photo and mobile number.
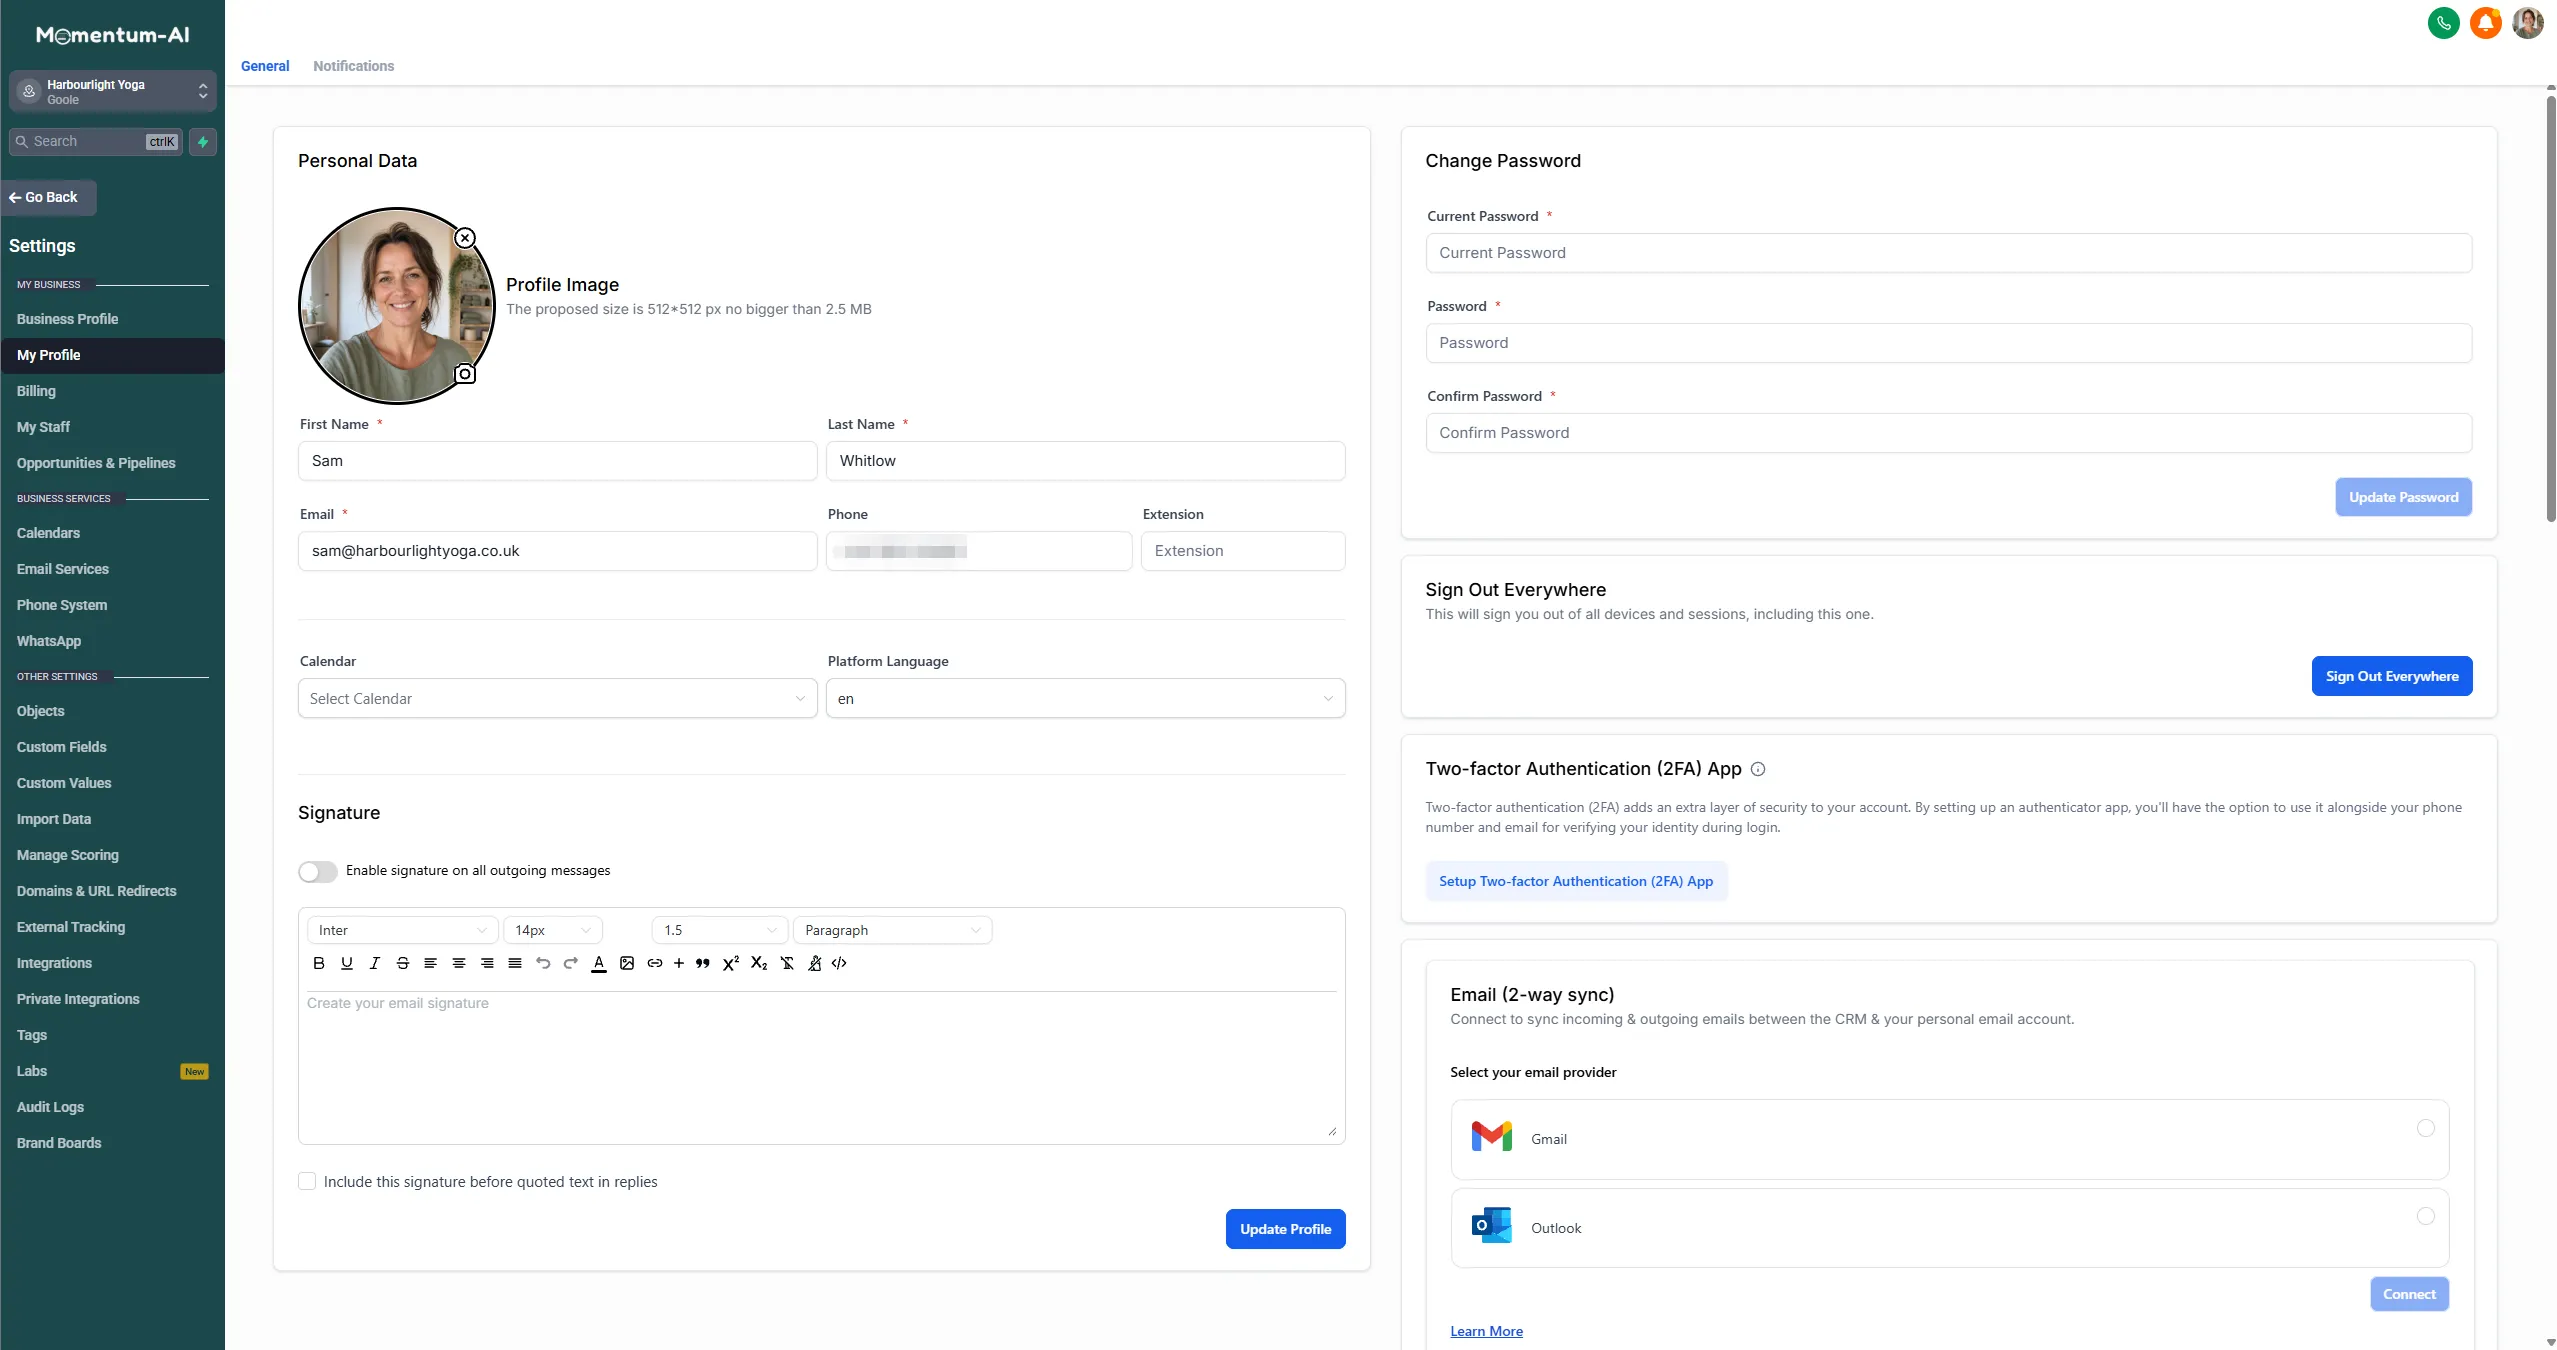
The photo isn’t vanity: when your team uses the system, and later when messages go out, this is how activity gets attributed to you.
2. Your business profile
Section titled “2. Your business profile”Go to Settings → Business Profile and complete your business name, address, logo and website.
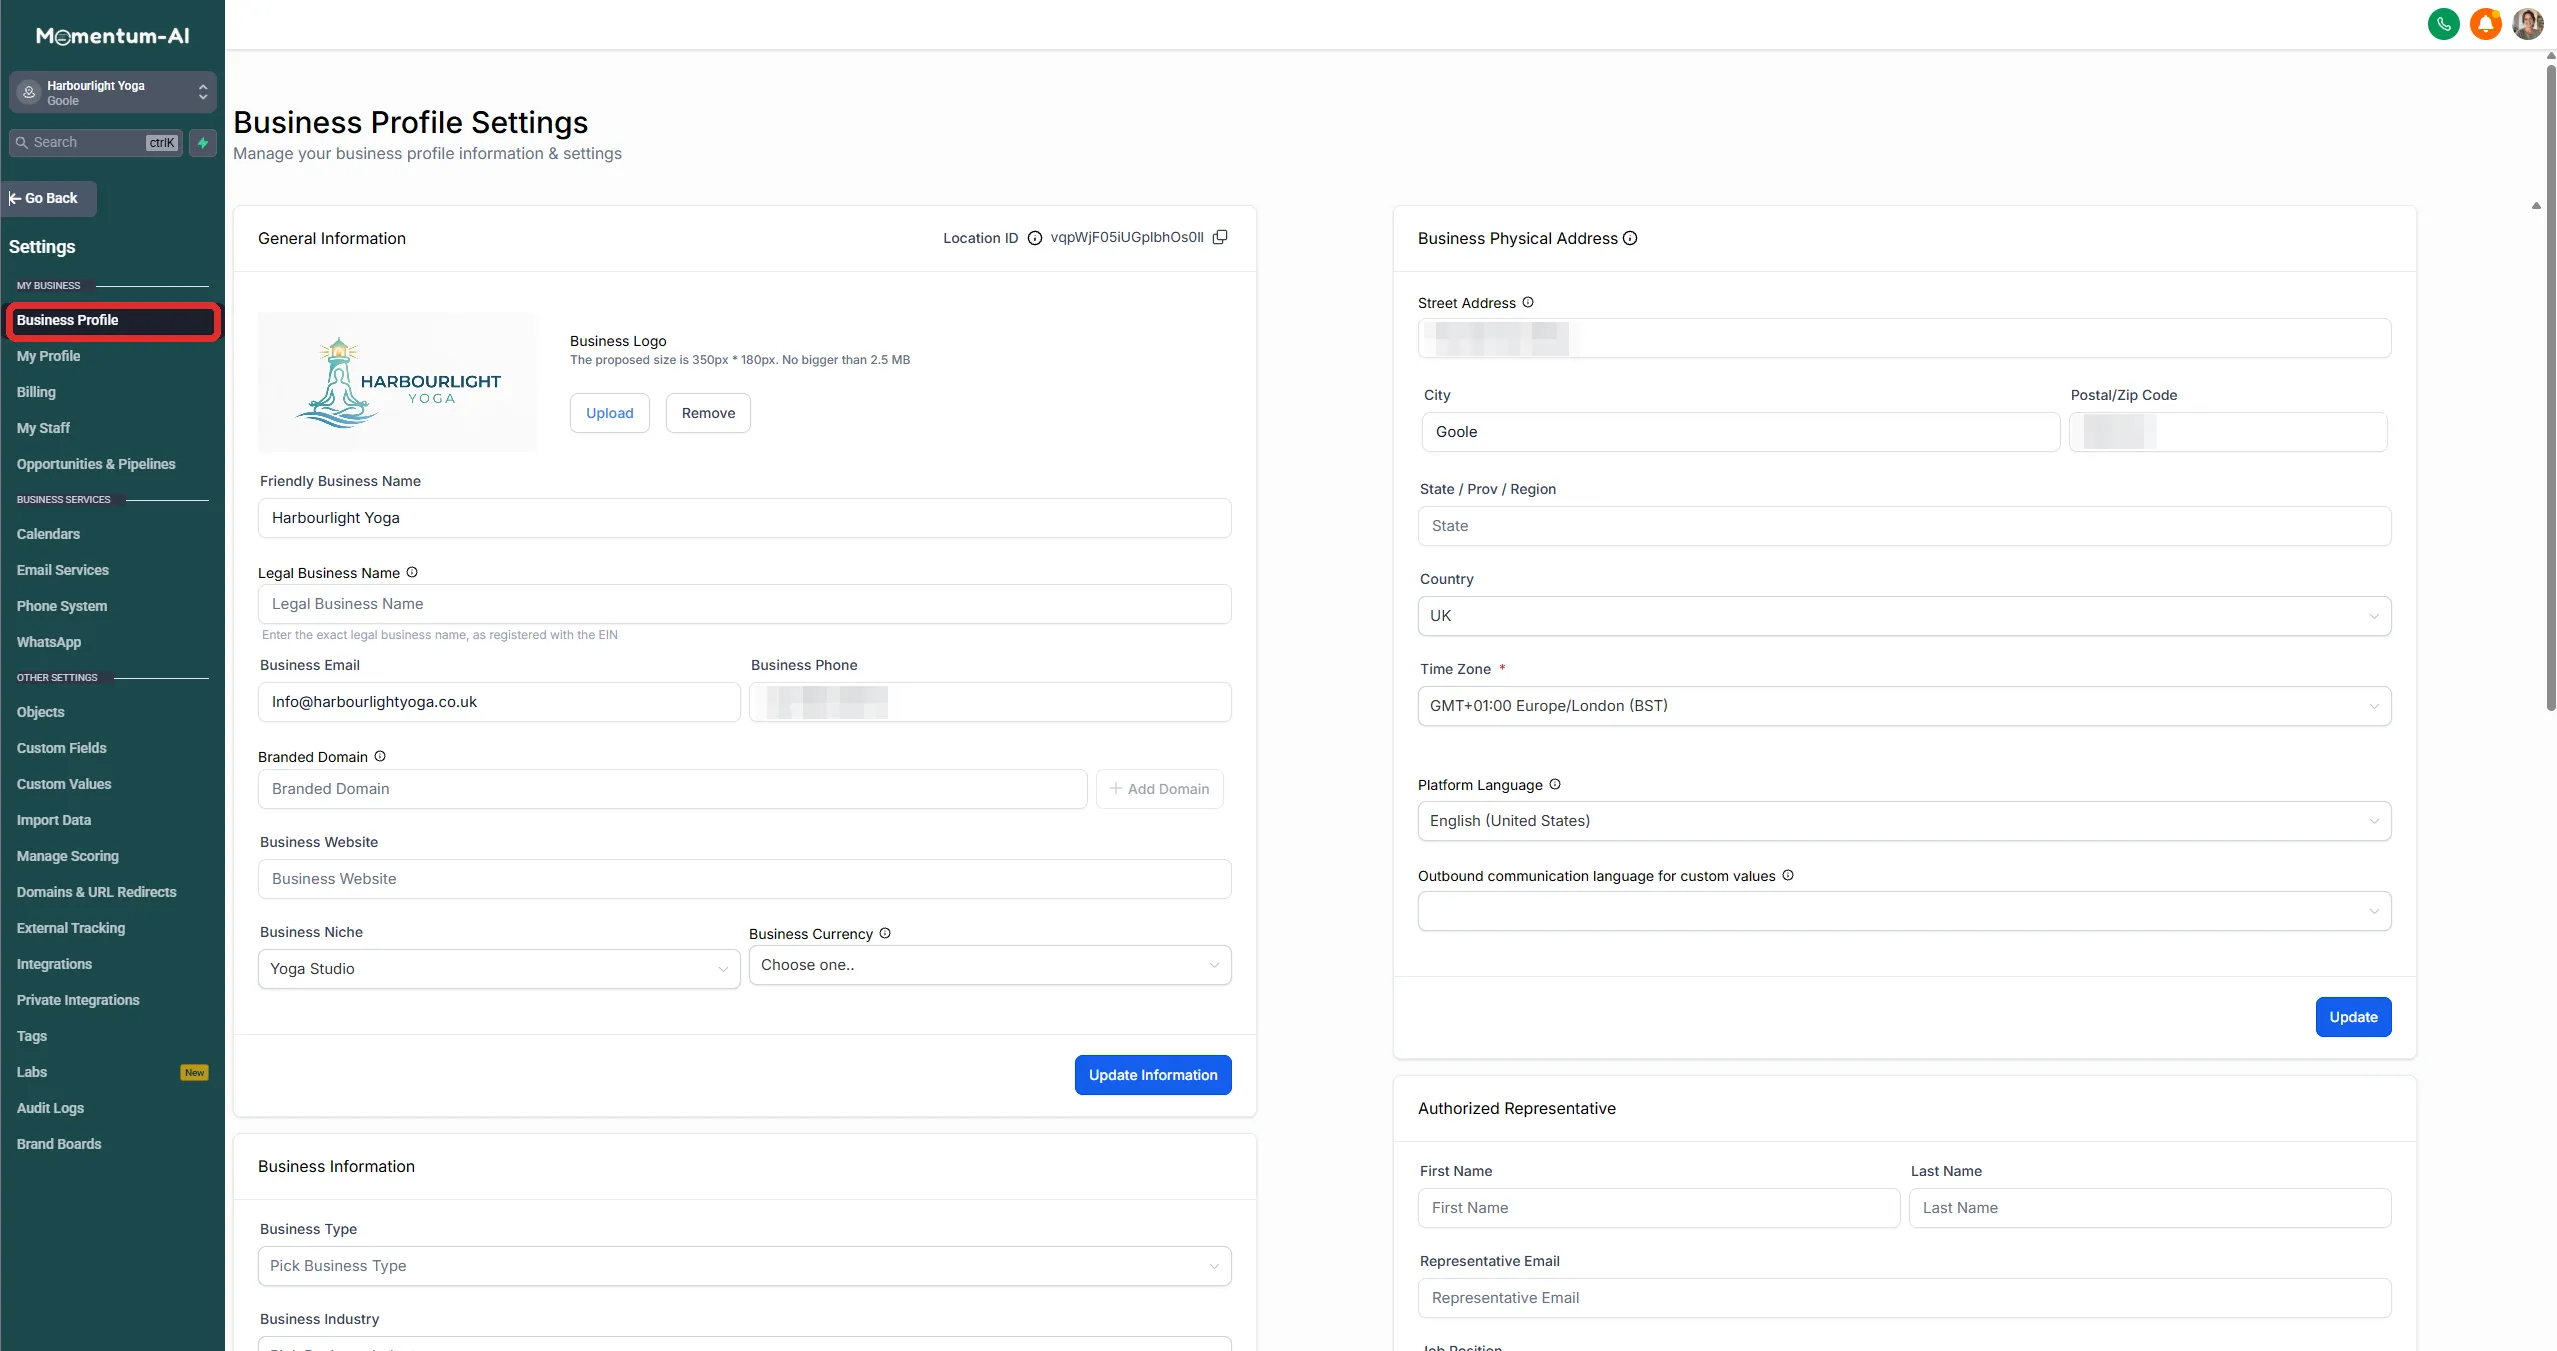
This is the master record the whole platform reads from. When the AI introduces your business, when an invoice goes out, when a booking confirmation lands — this is where that information comes from. Spell everything exactly the way you want customers to see it.
3. Your time zone
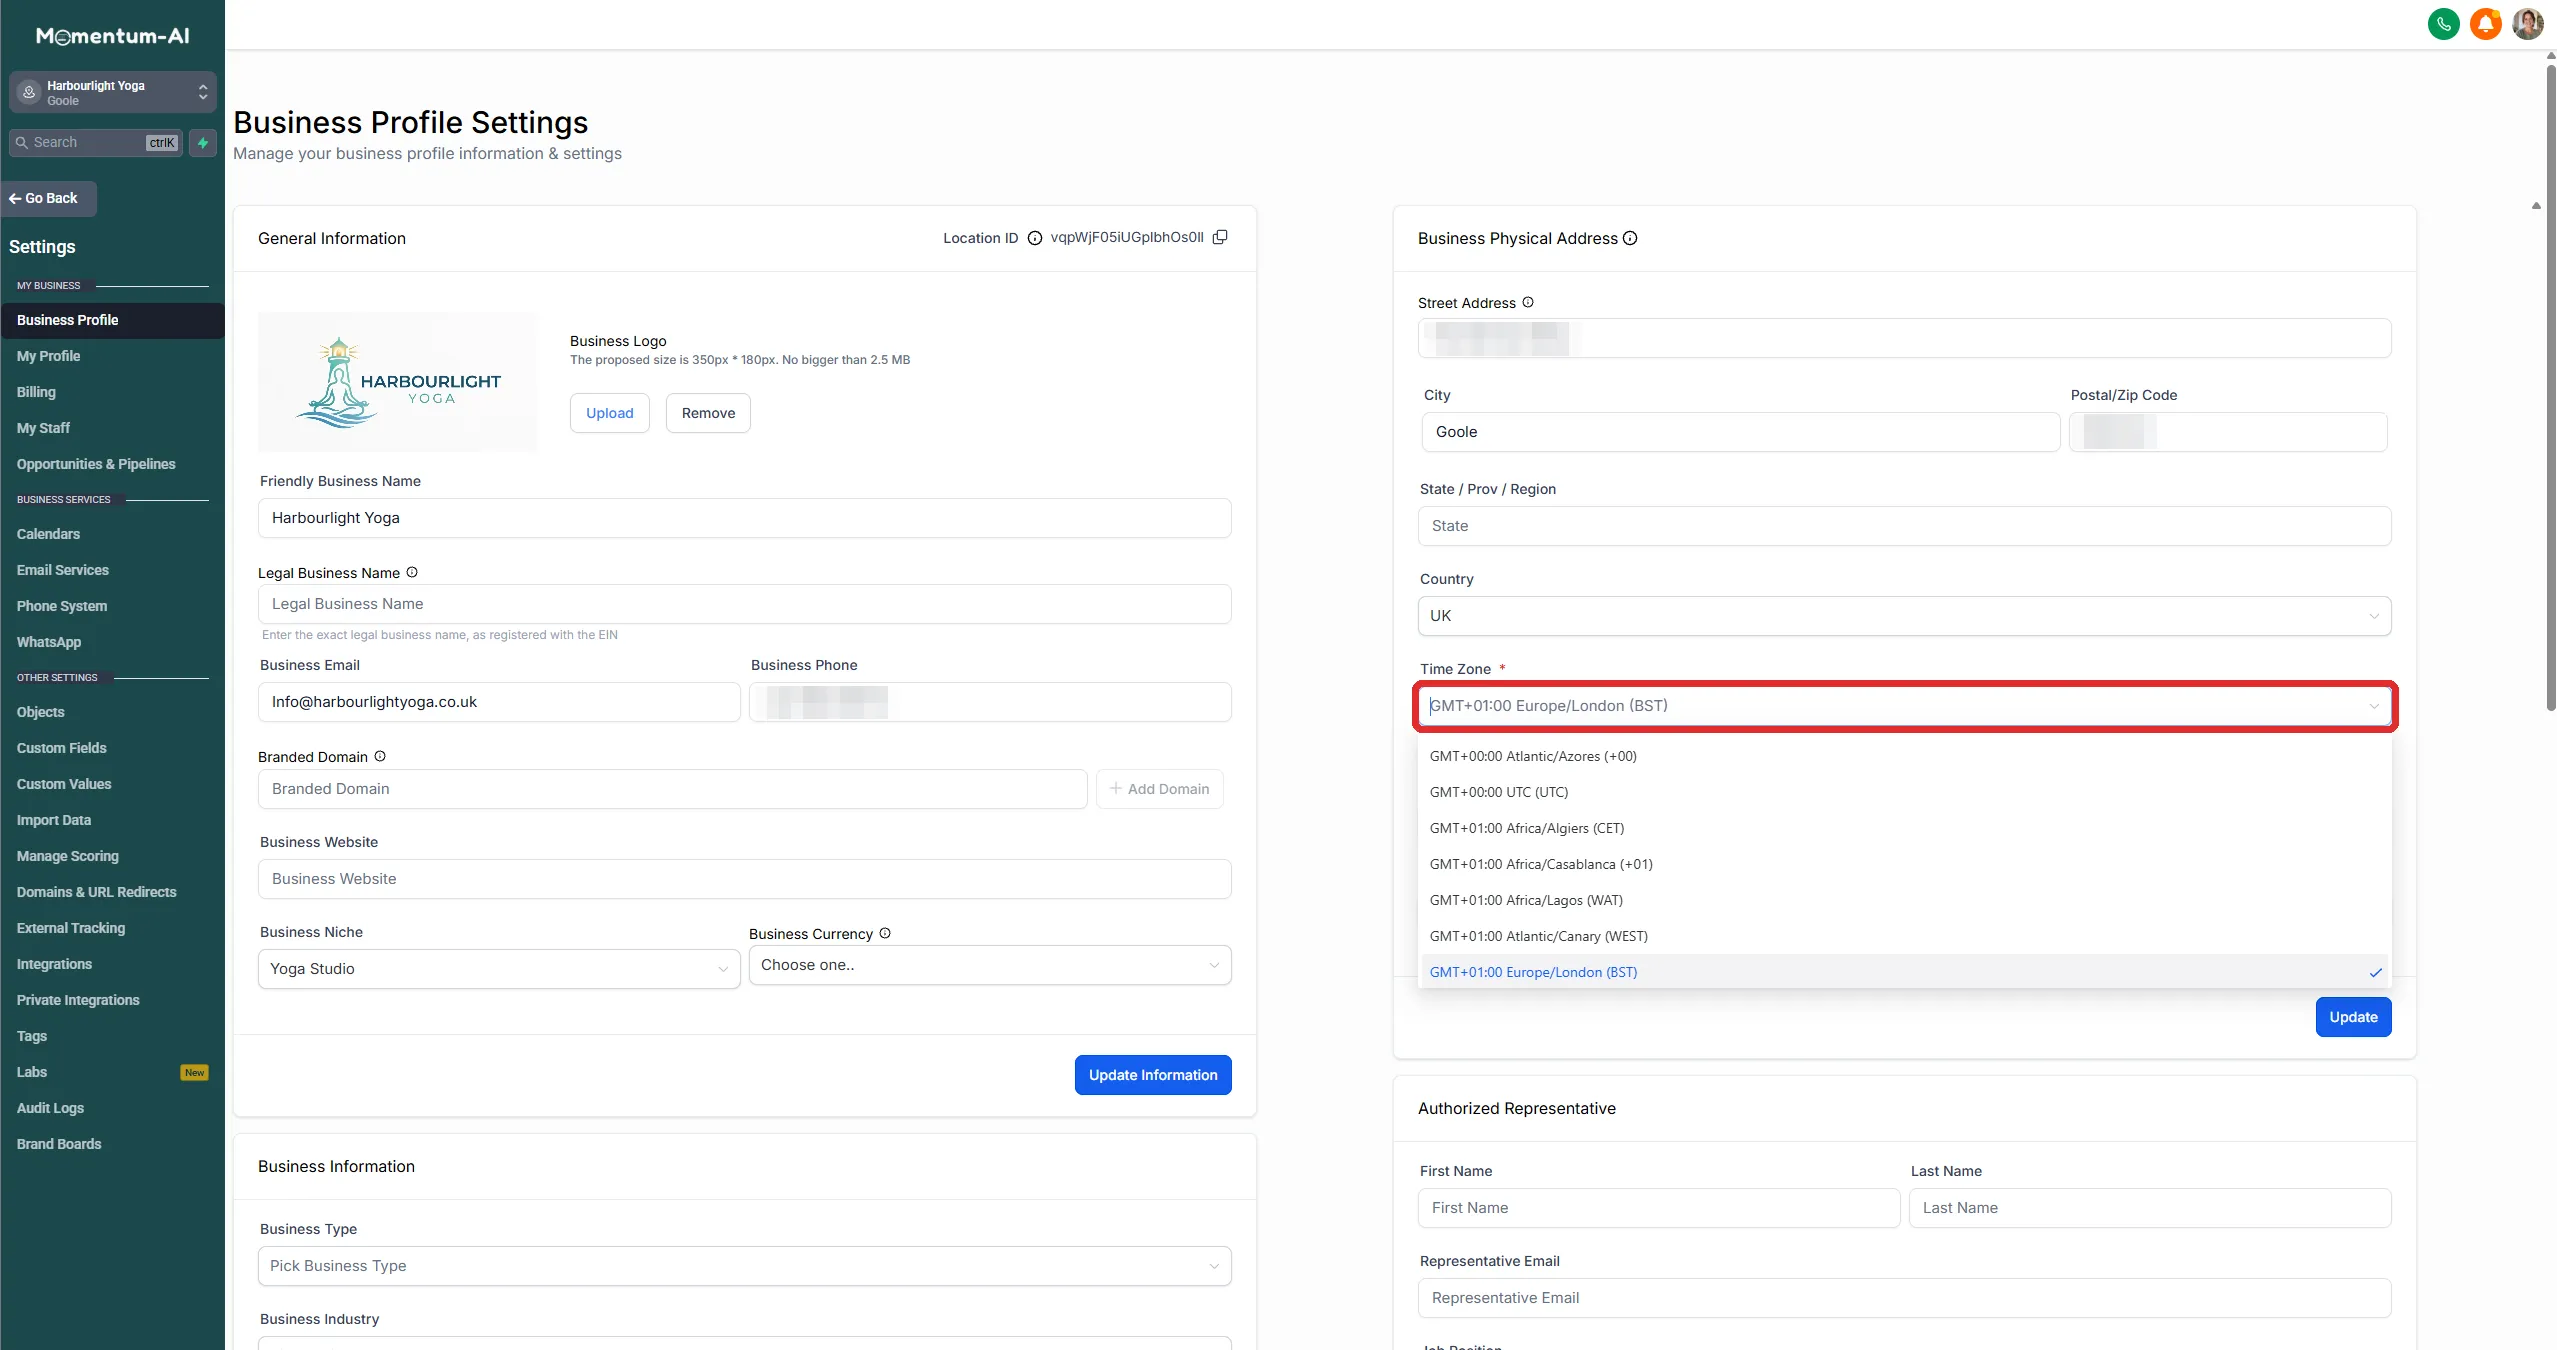
Section titled “3. Your time zone”Still in your business settings, check the time zone selector says your actual time zone, not the default.
4. Your team
Section titled “4. Your team”Go to Settings → Team and add each person who’ll use the system, with their own login.
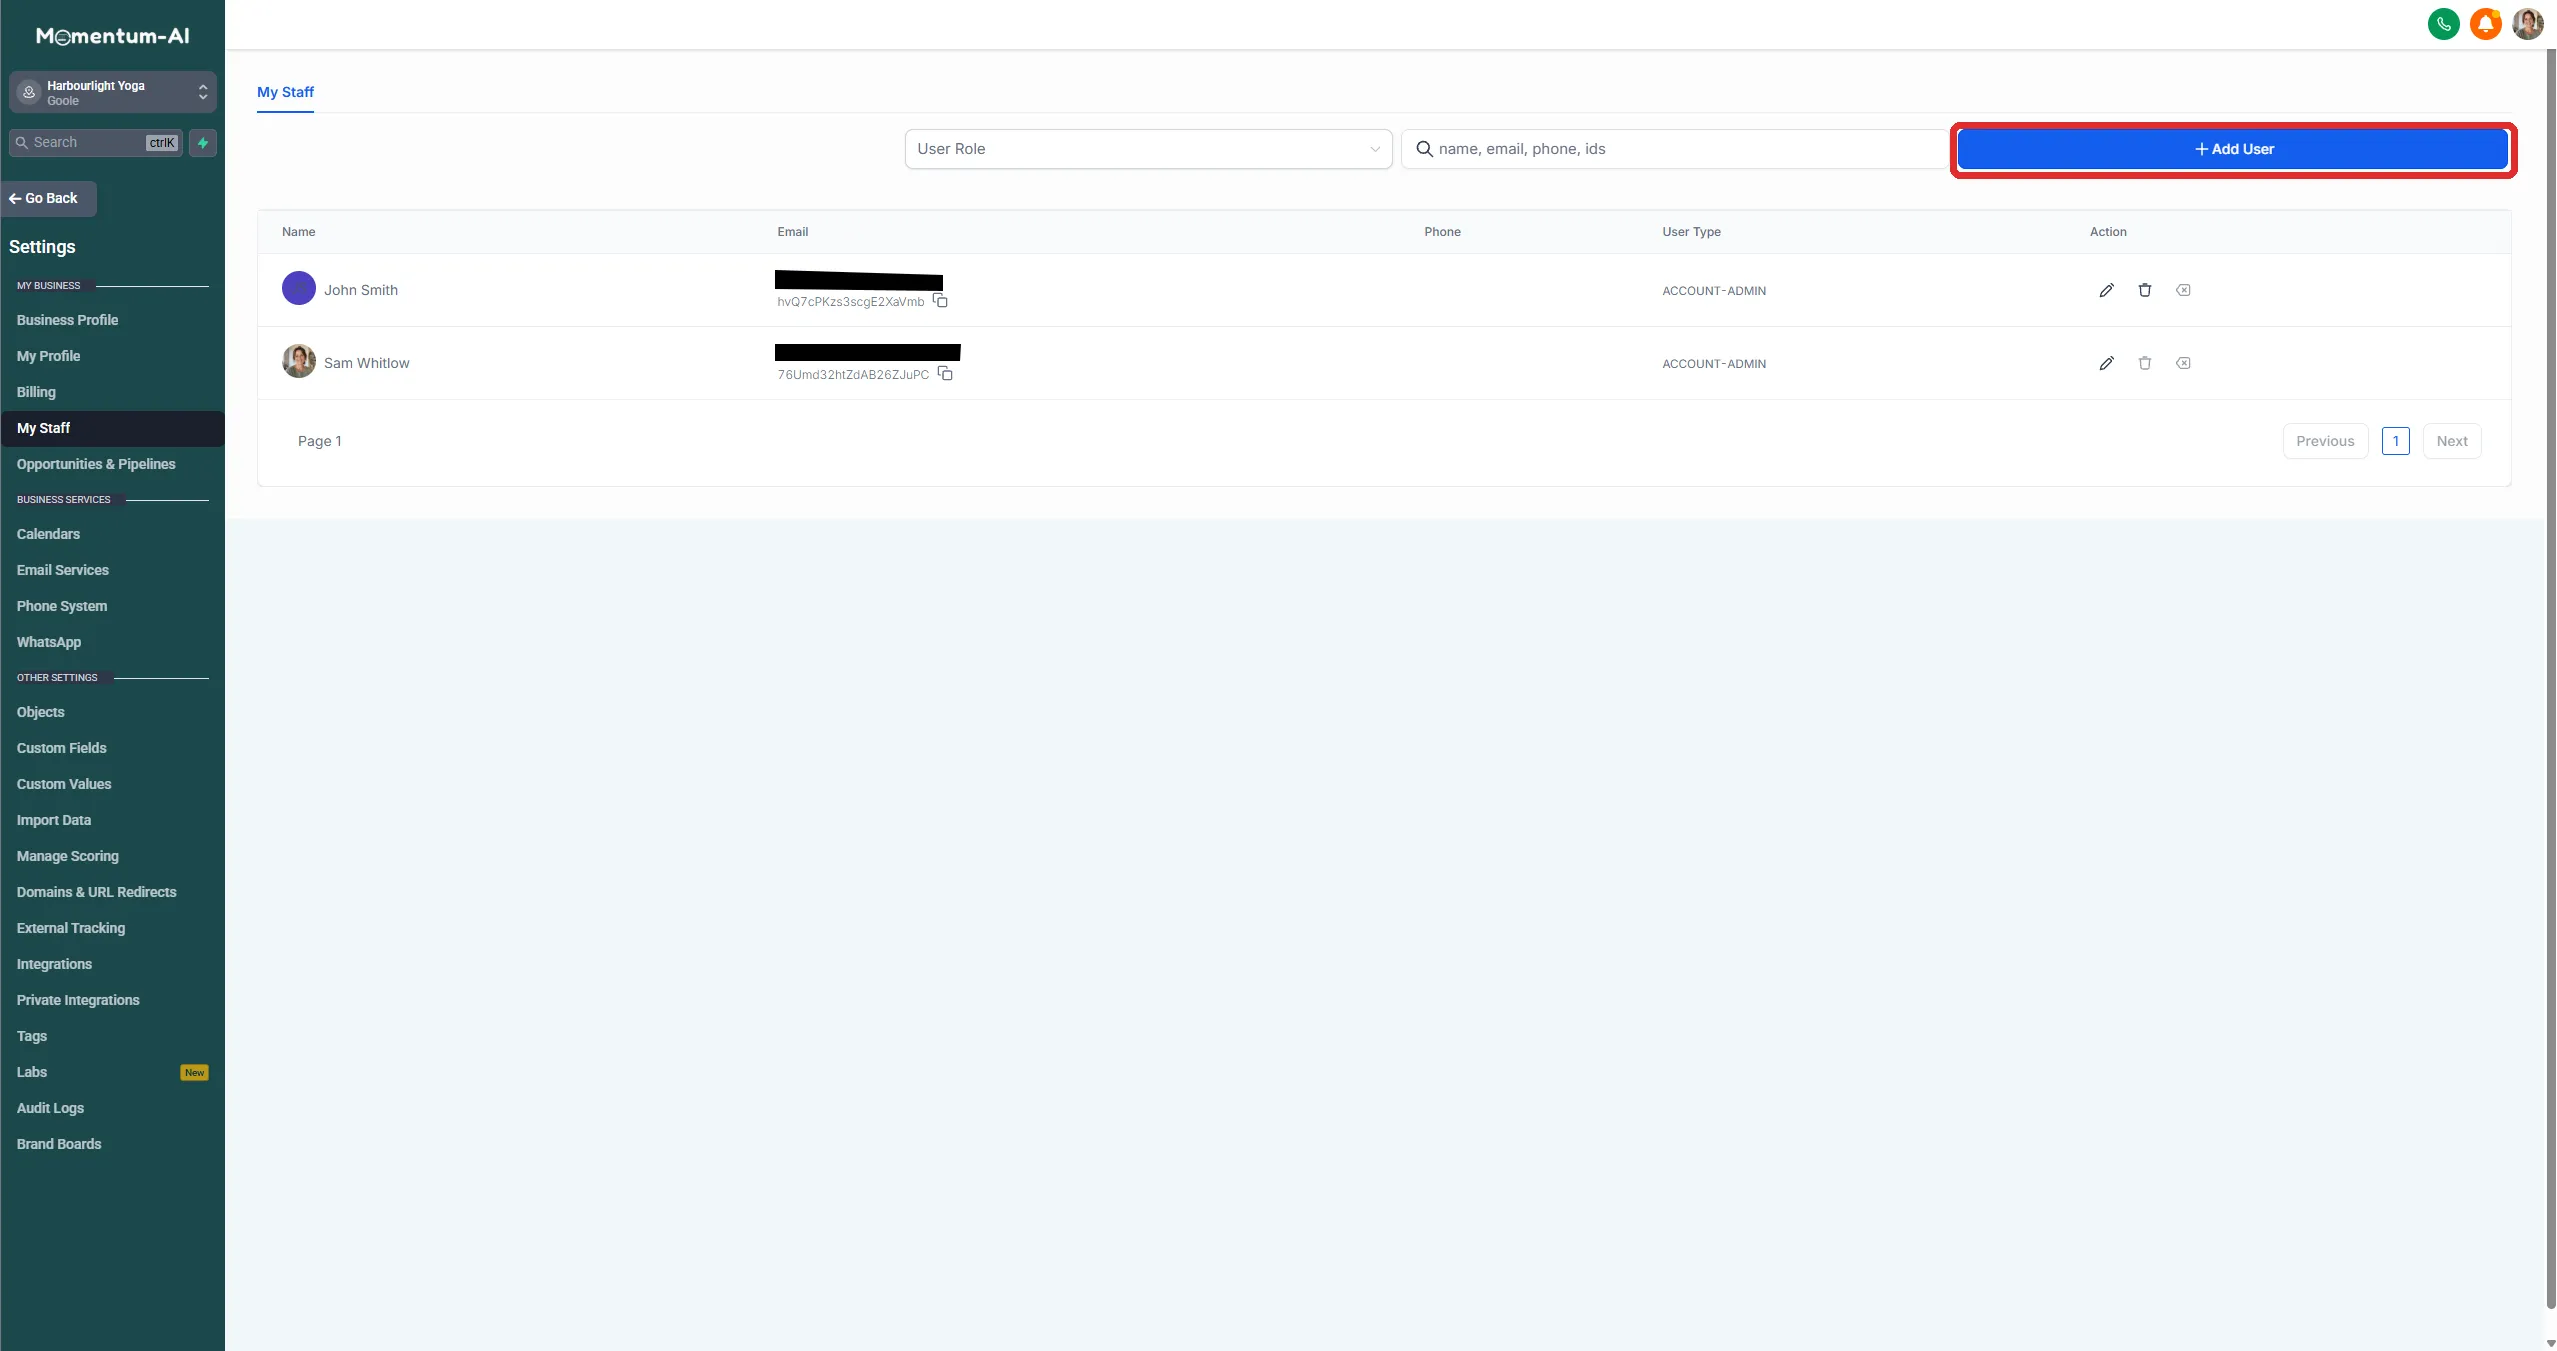
Don’t share one login between several people. You lose track of who said what to which customer, and the system can’t route notifications properly.
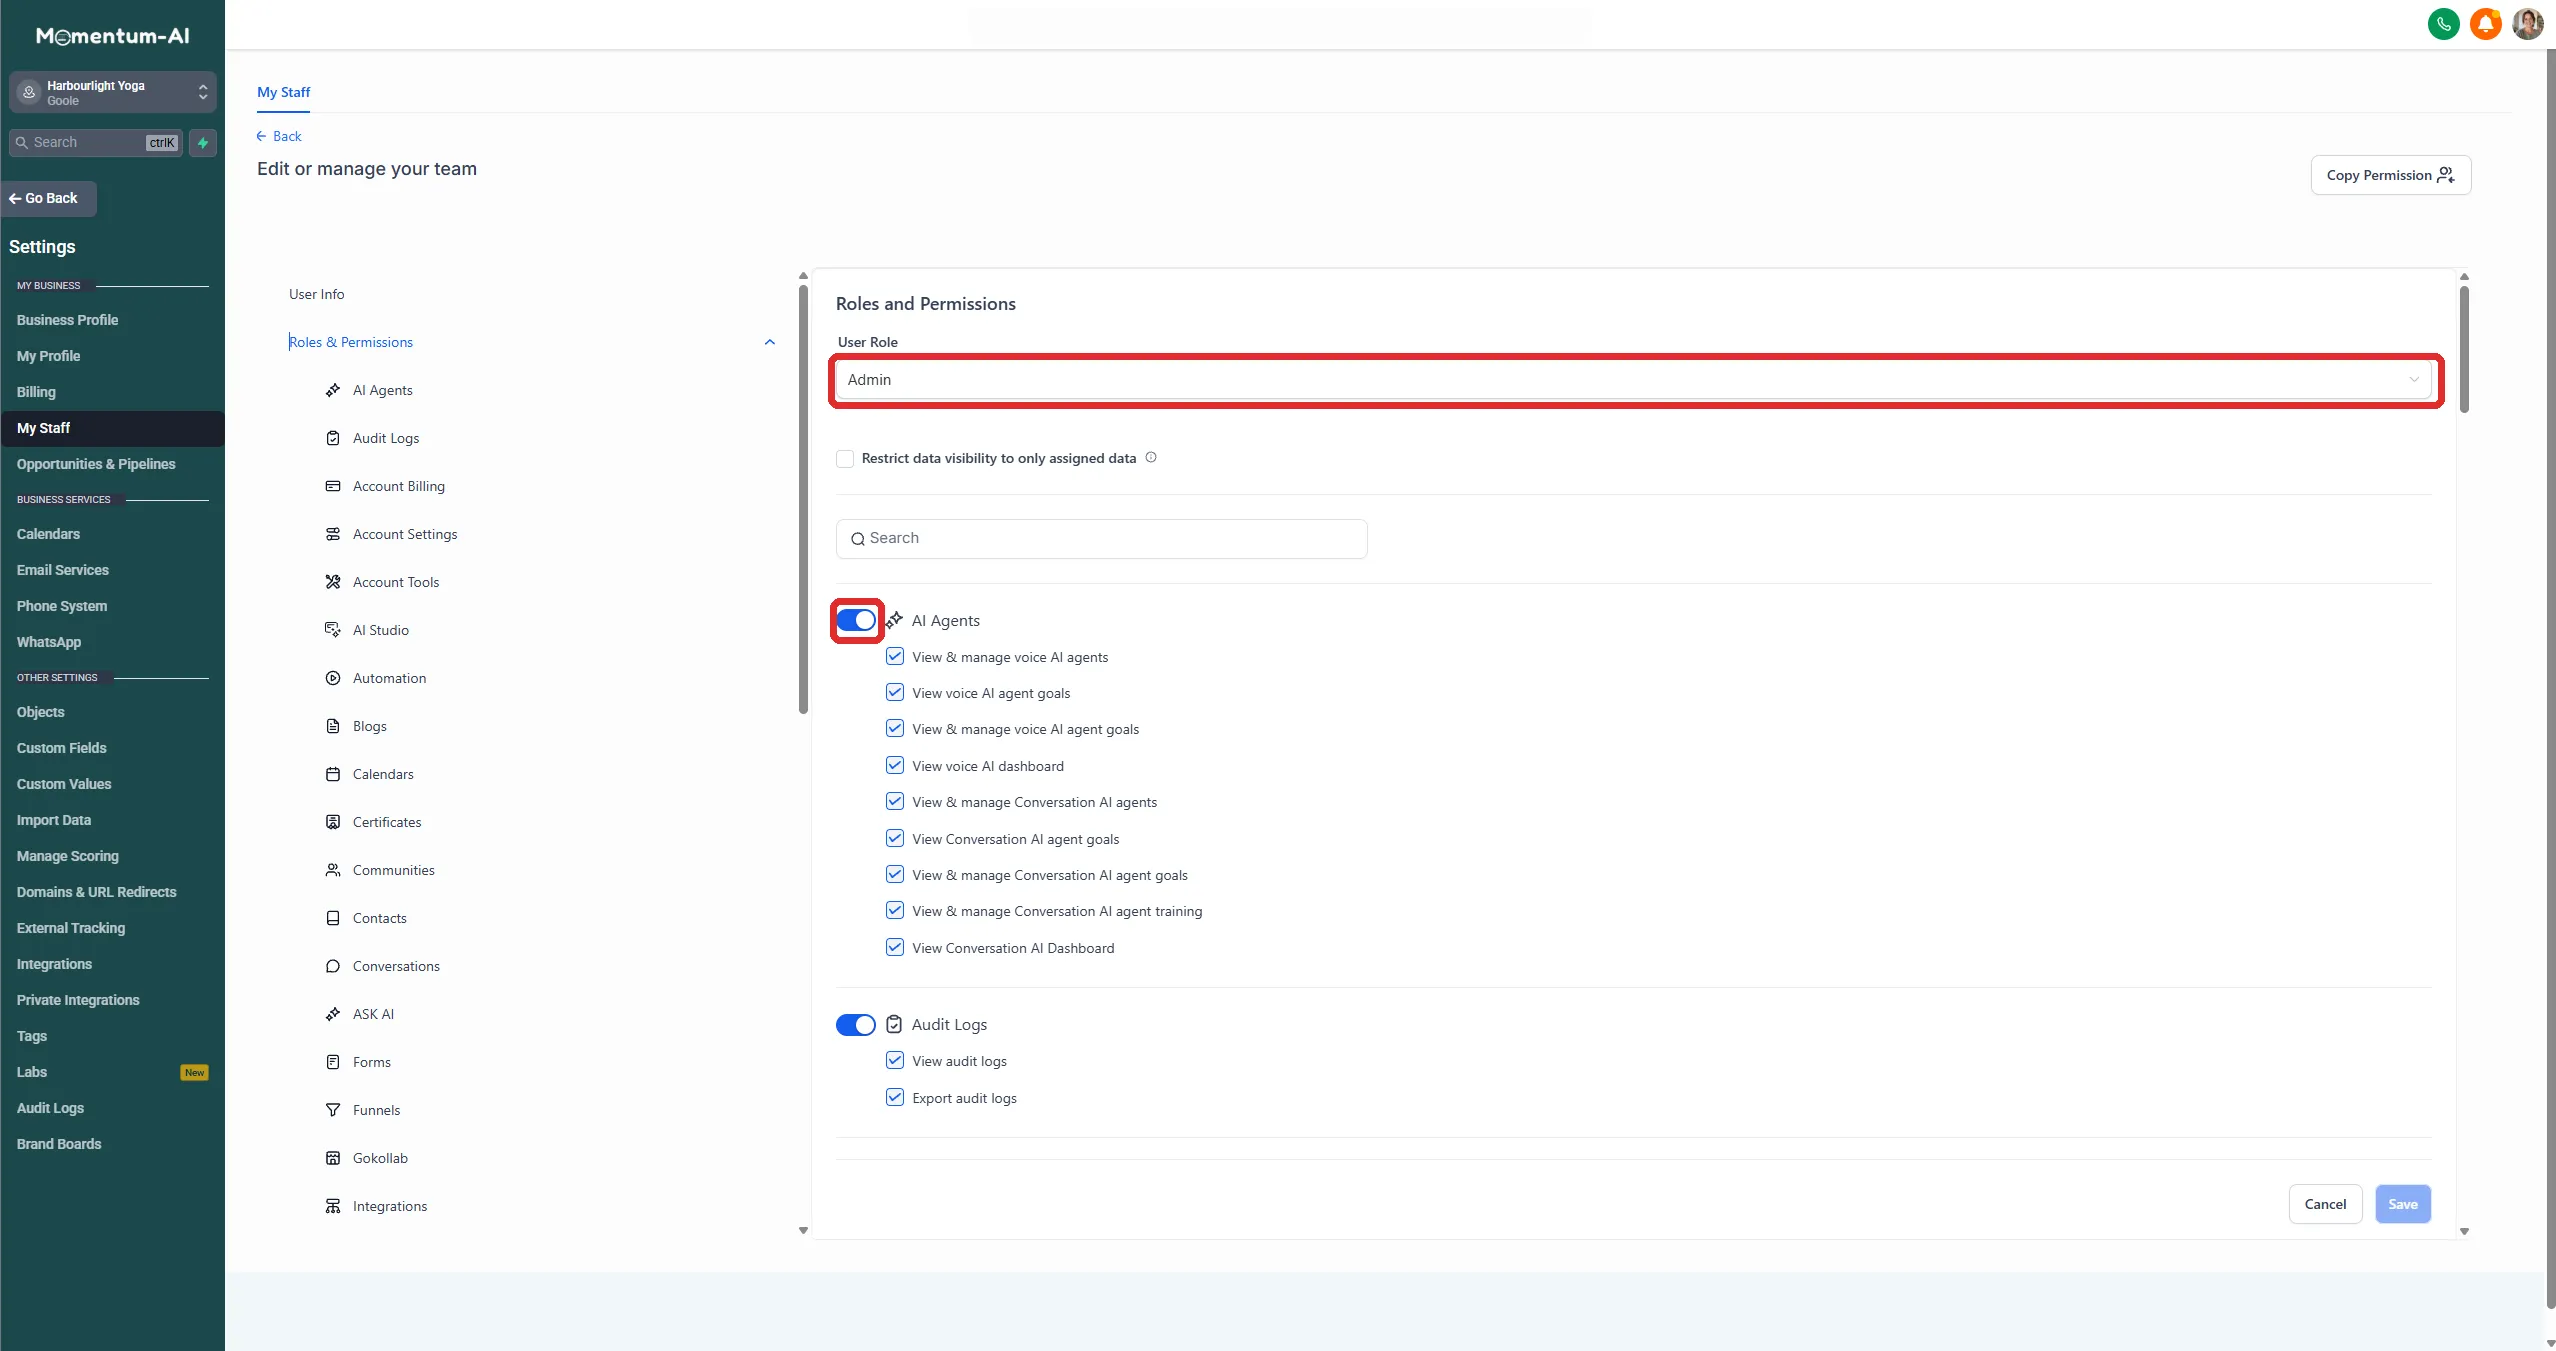
When you add someone, you choose what they can see and do. A practical rule:
- Give people access to what they use daily — for most staff that’s Conversations, Contacts and Calendars.
- Keep settings and billing to yourself. You can always widen access later; it’s harder to un-see a payroll report.
While you’re in here: notifications
Section titled “While you’re in here: notifications”Decide where you want the system to tap you on the shoulder. Our advice:
- Email for summaries
- The mobile app for new leads (see Put Momentum-AI in your pocket)
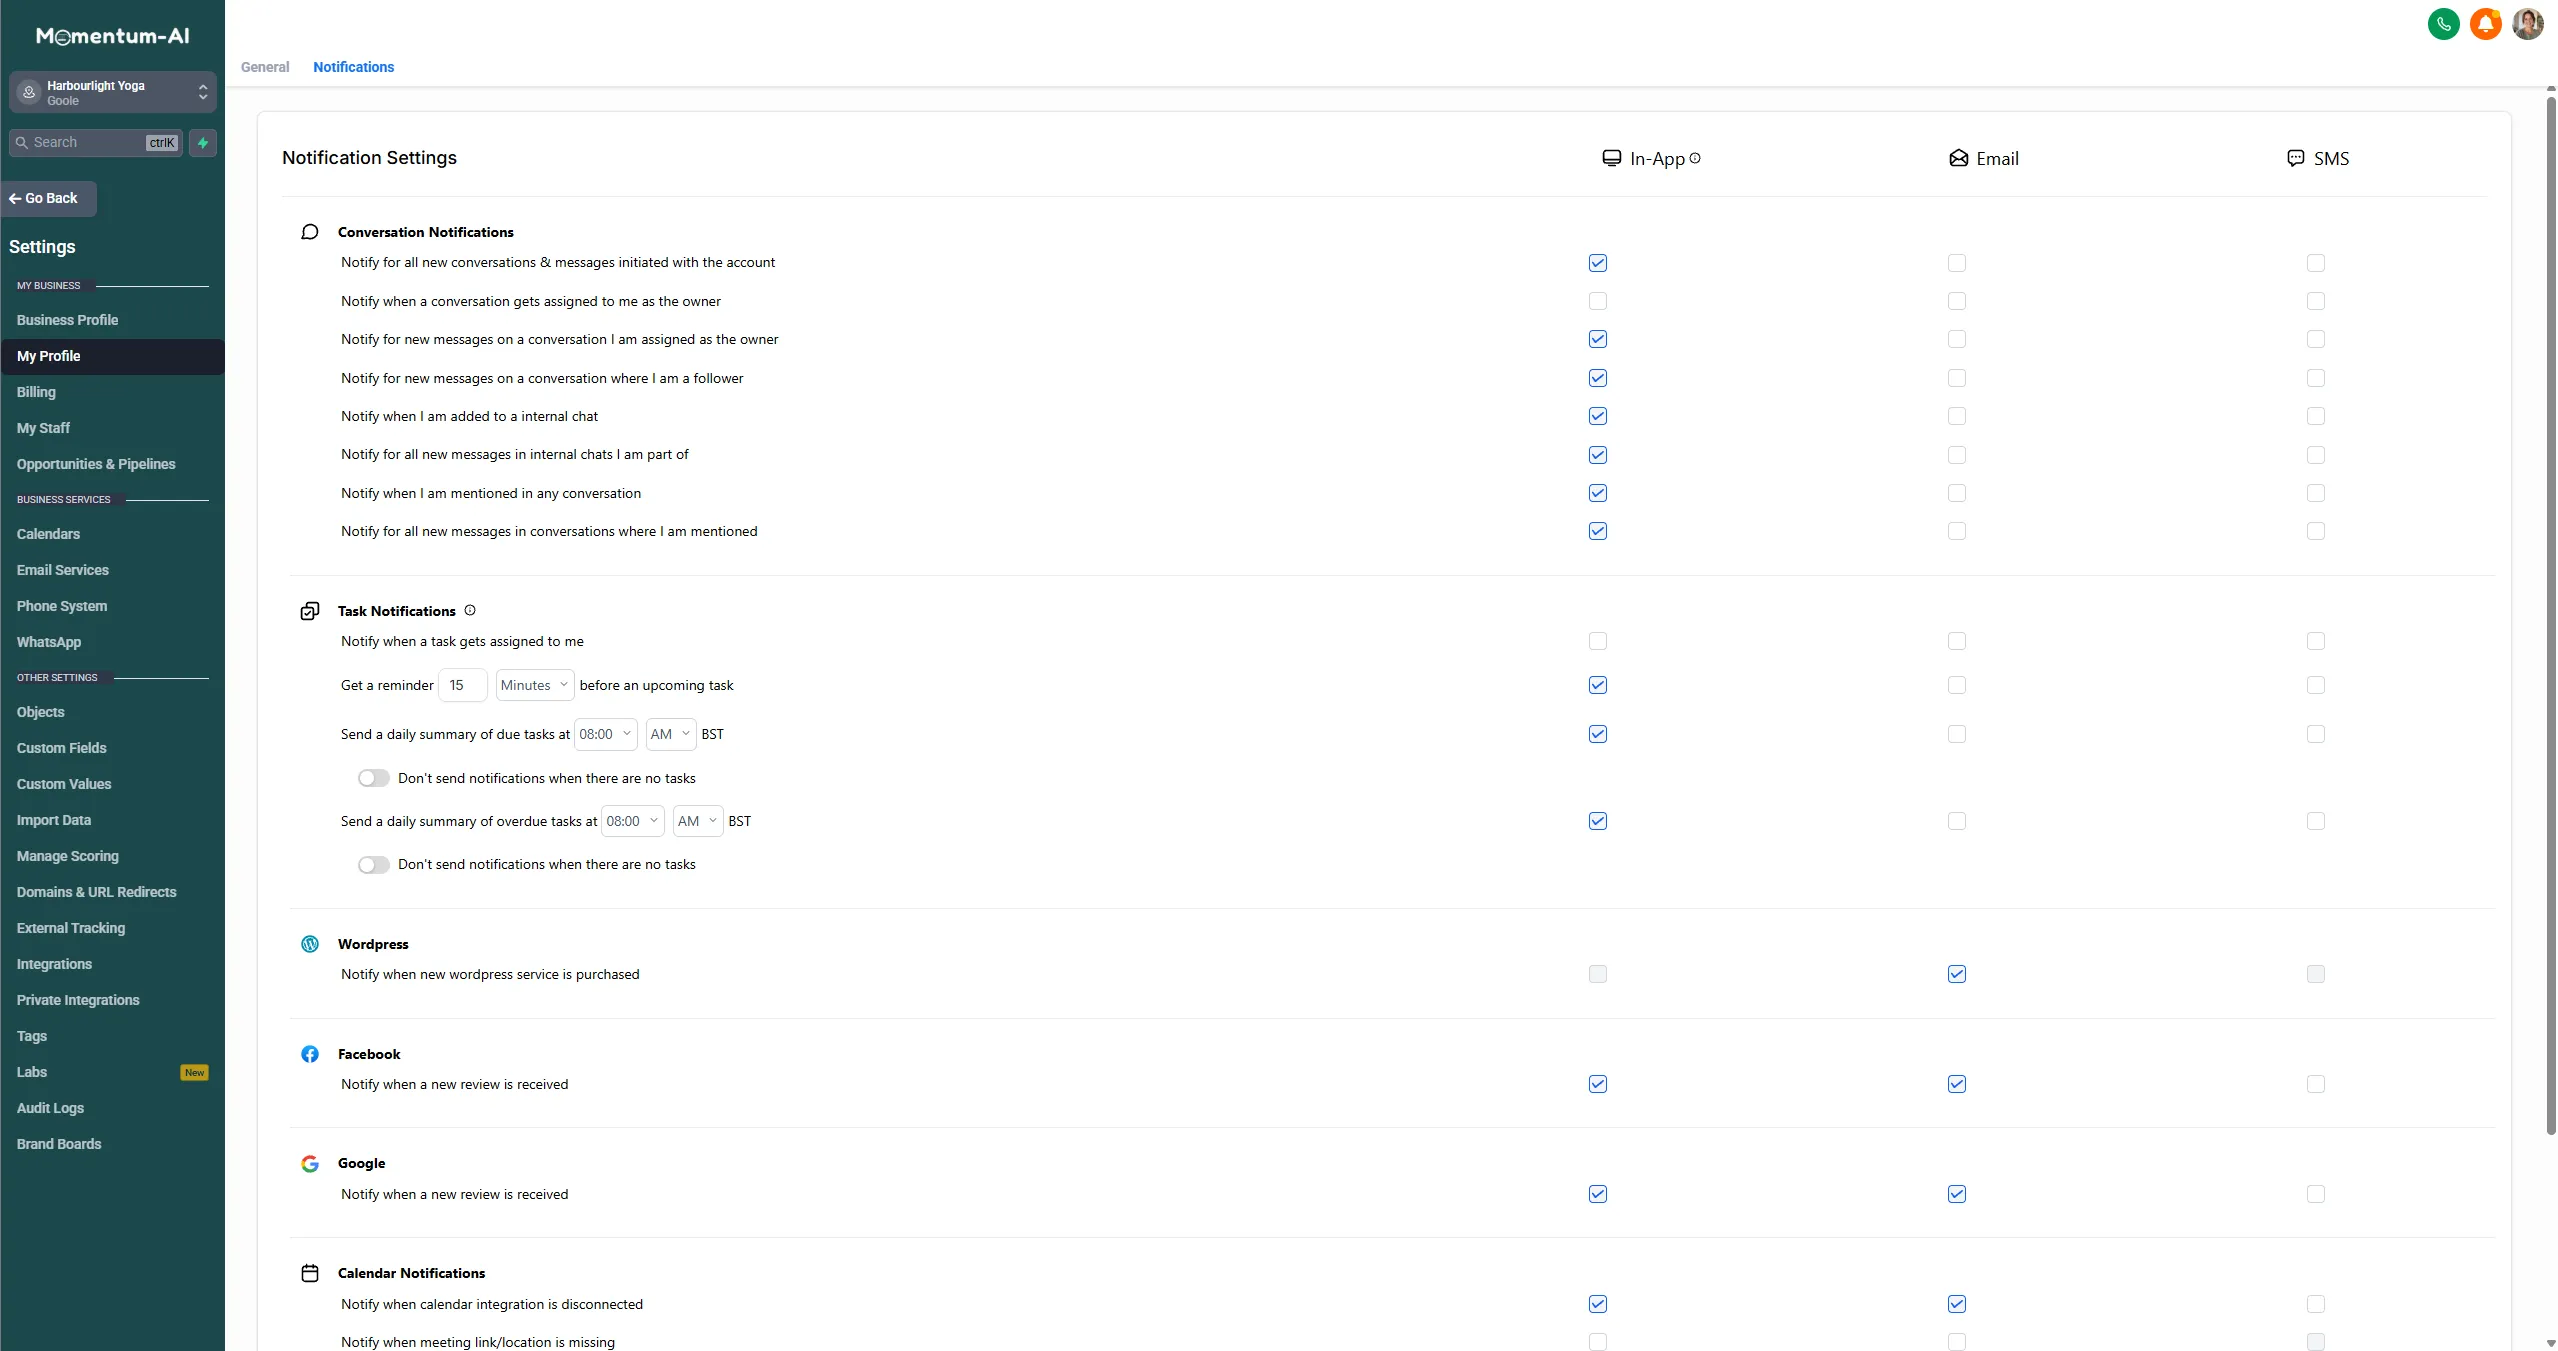
What you don’t want is every notification on every channel — you’ll start ignoring all of them, and a system you ignore can’t build momentum.
Next step
Section titled “Next step”That’s the foundation done: four settings, five minutes, and you never have to think about them again. Next, the step we most need you not to skip: connecting your channels.